Week 5
3D Printing
Making Modules
What we have done? I will explain it to you with all details in the next few days.
How To
Step 1
The modules that should be created for that task were previously created with the program „Fusion 360“. You can download and find out more about that program here.
Step 2
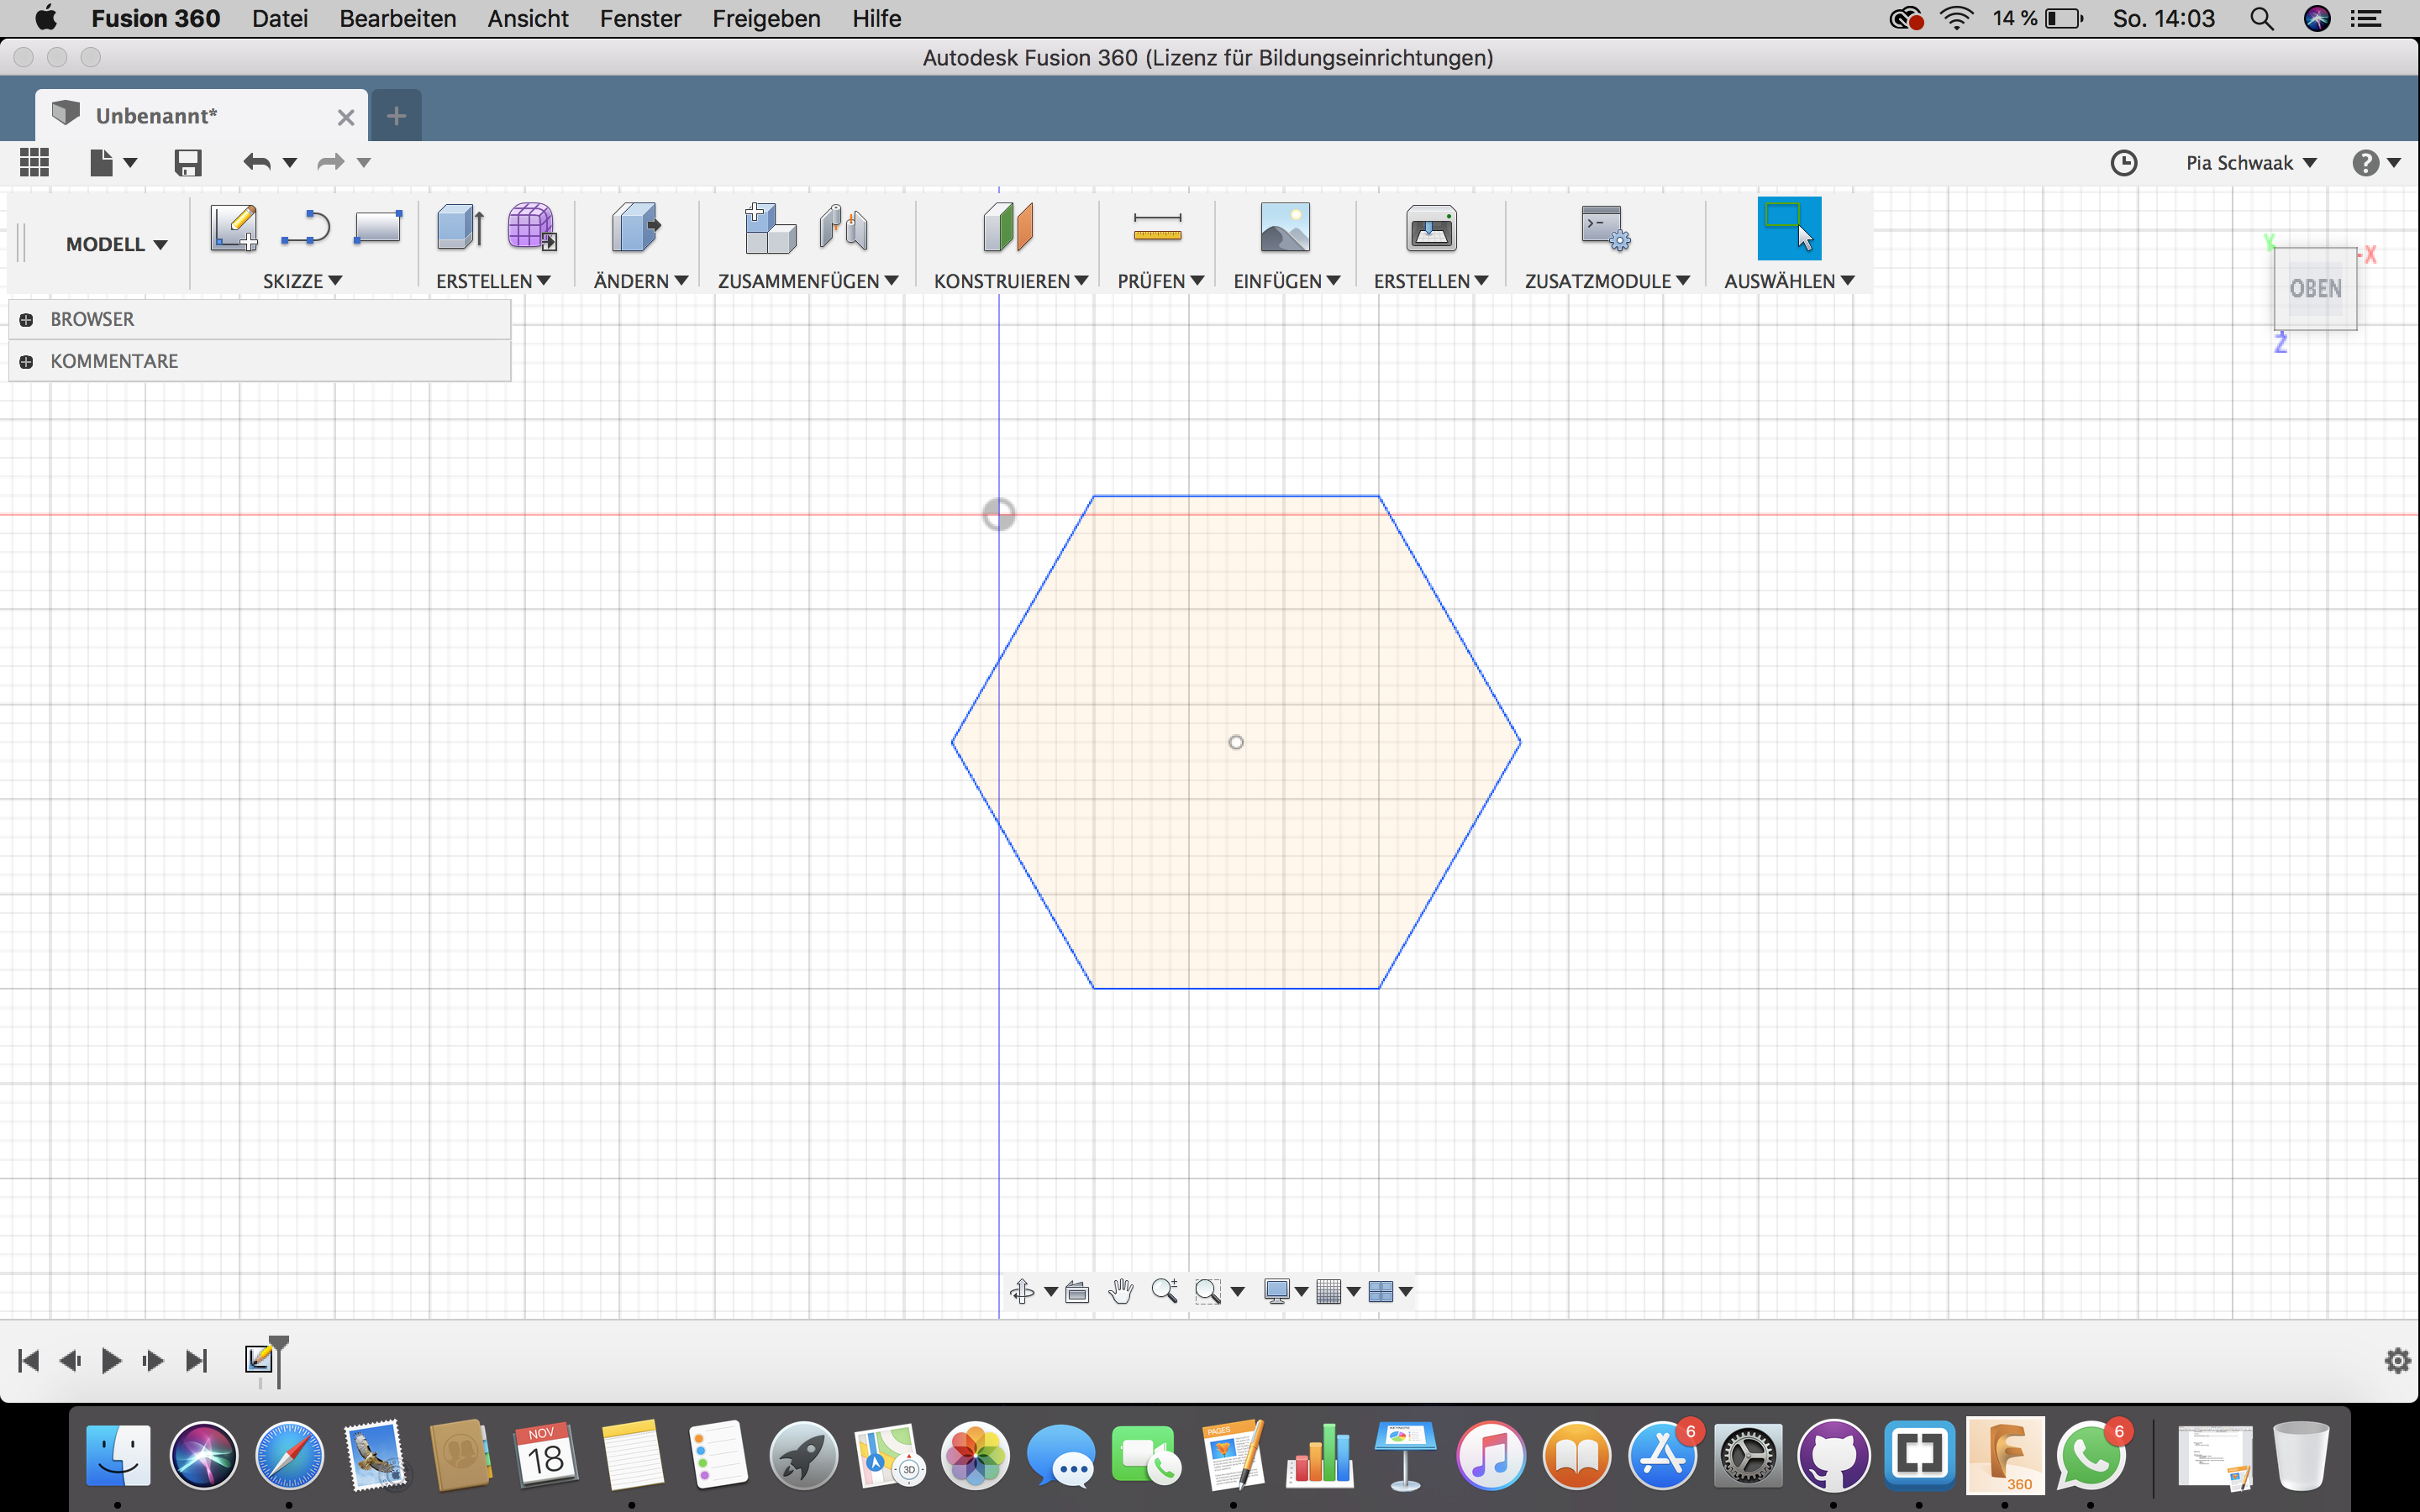
I decided to work with the shape of an polygon. You can create it by clicking on the „sketch“ and than selecting the column polygon.
Step 3
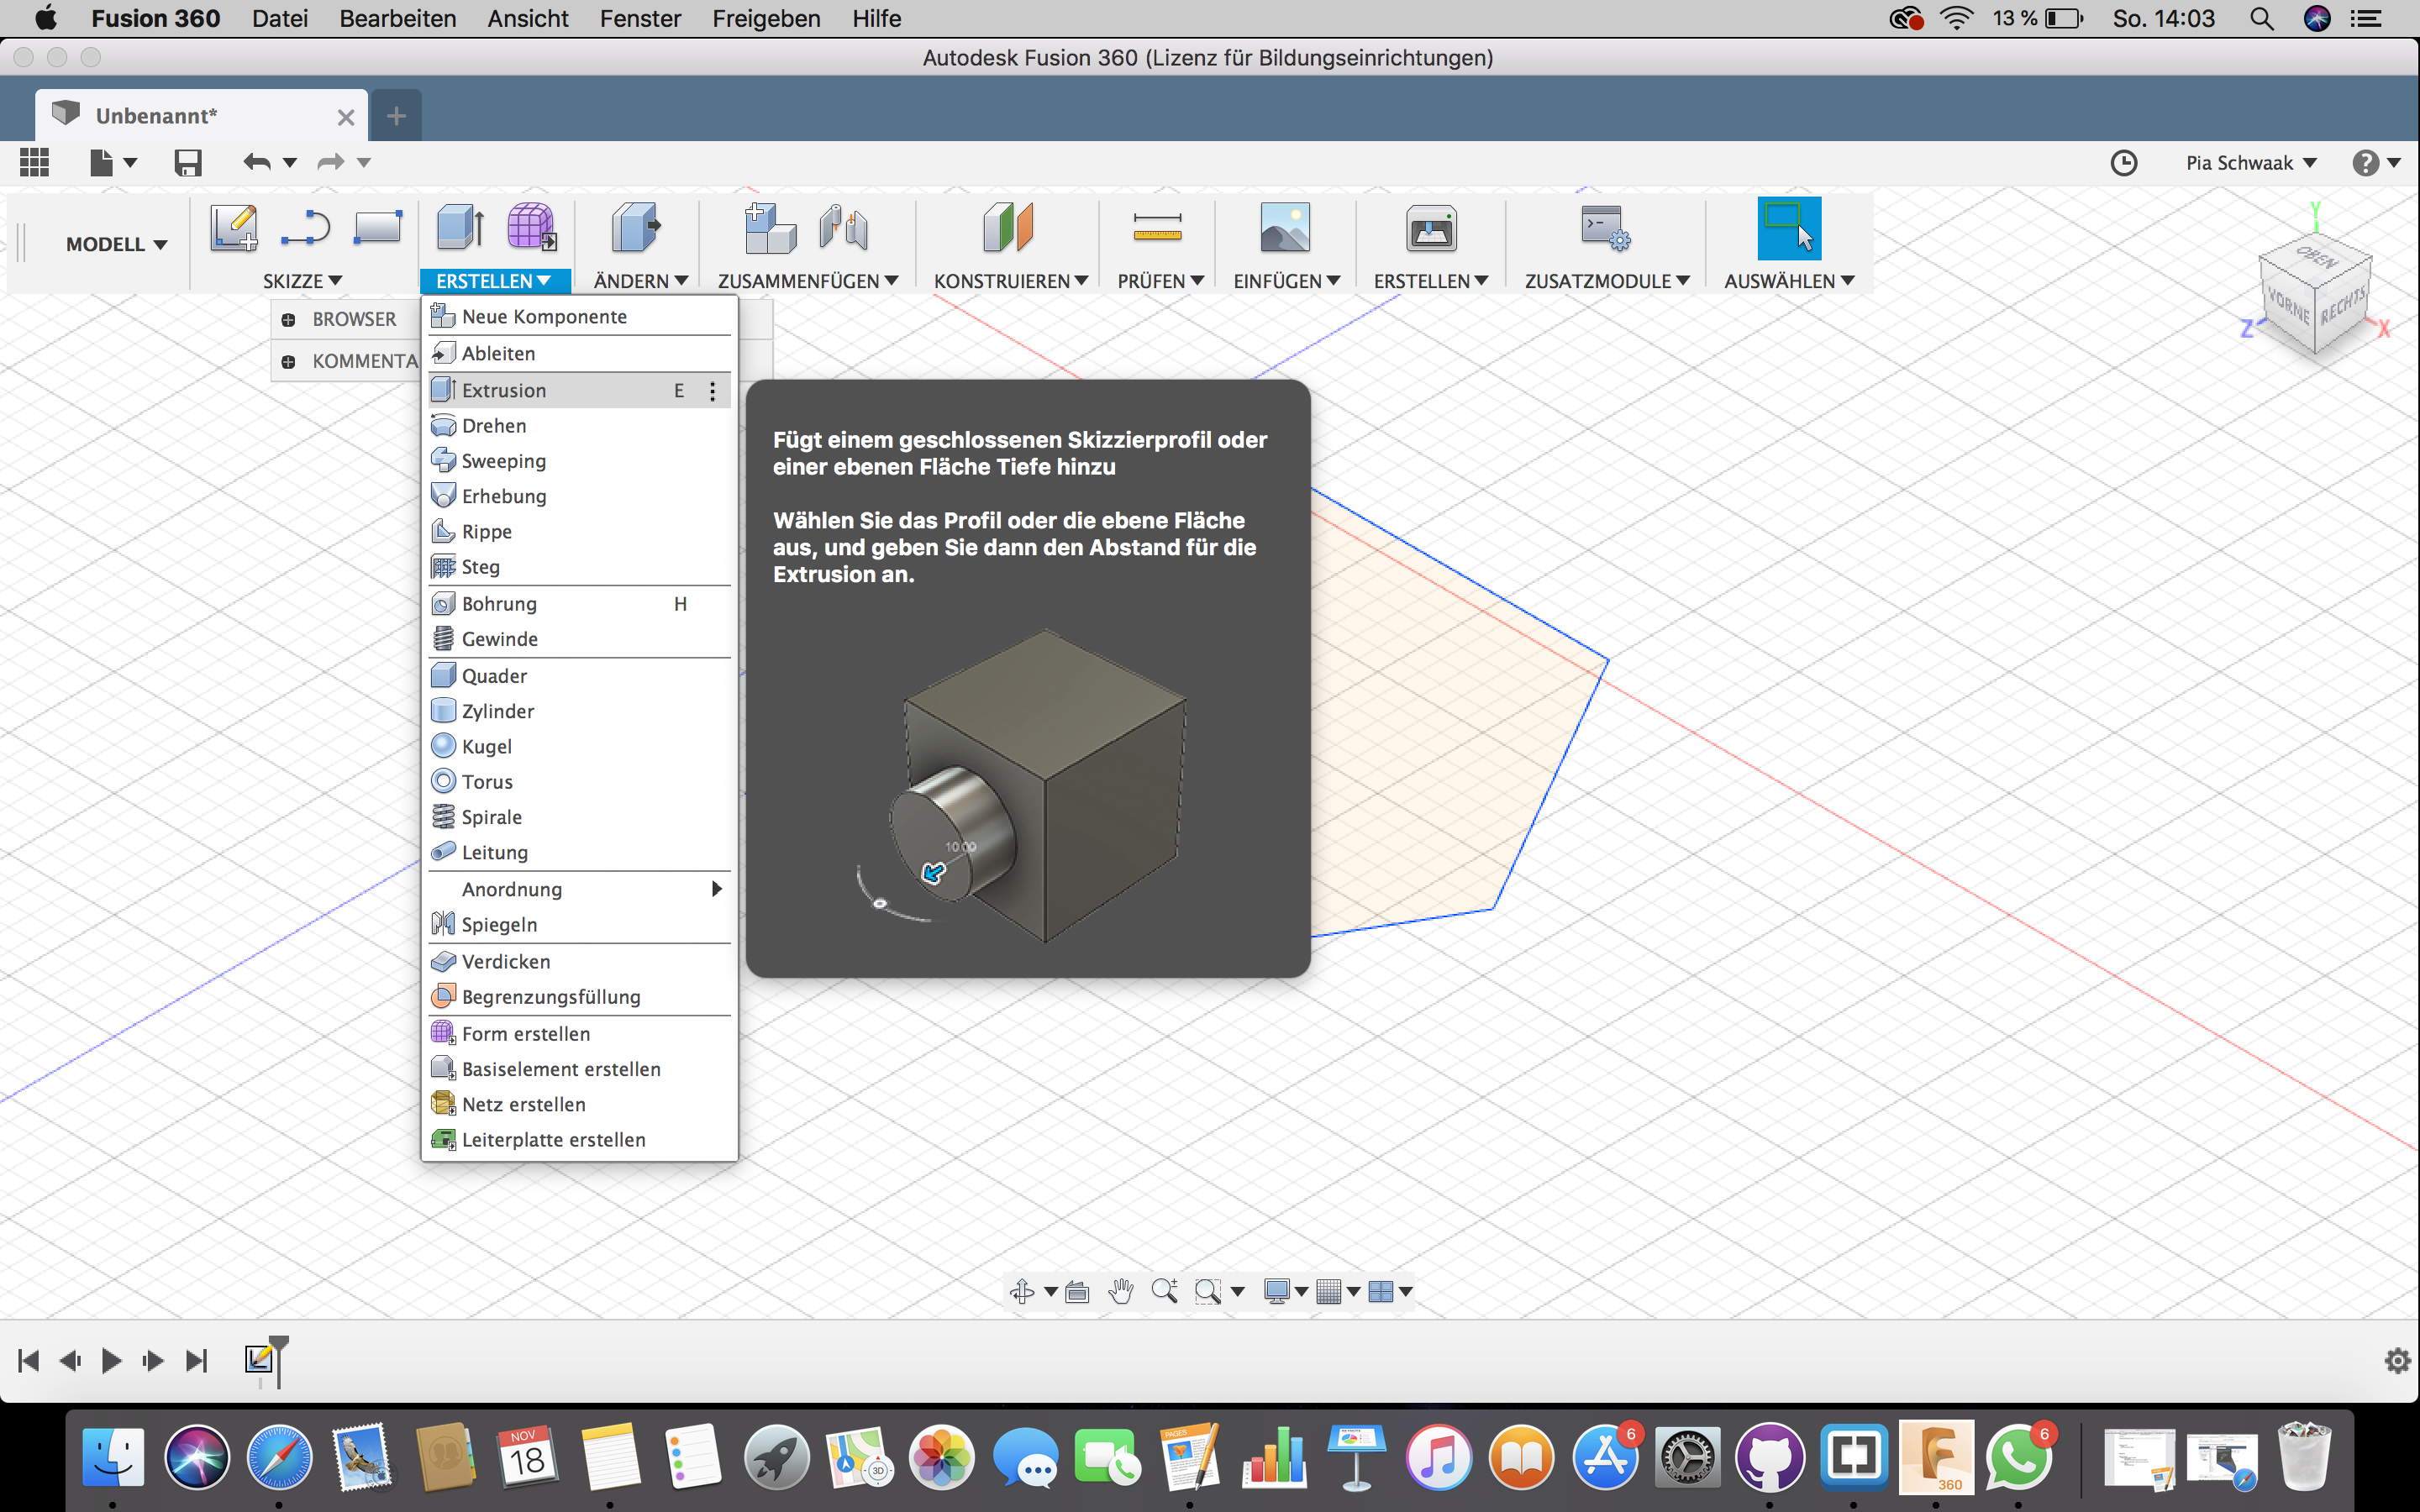
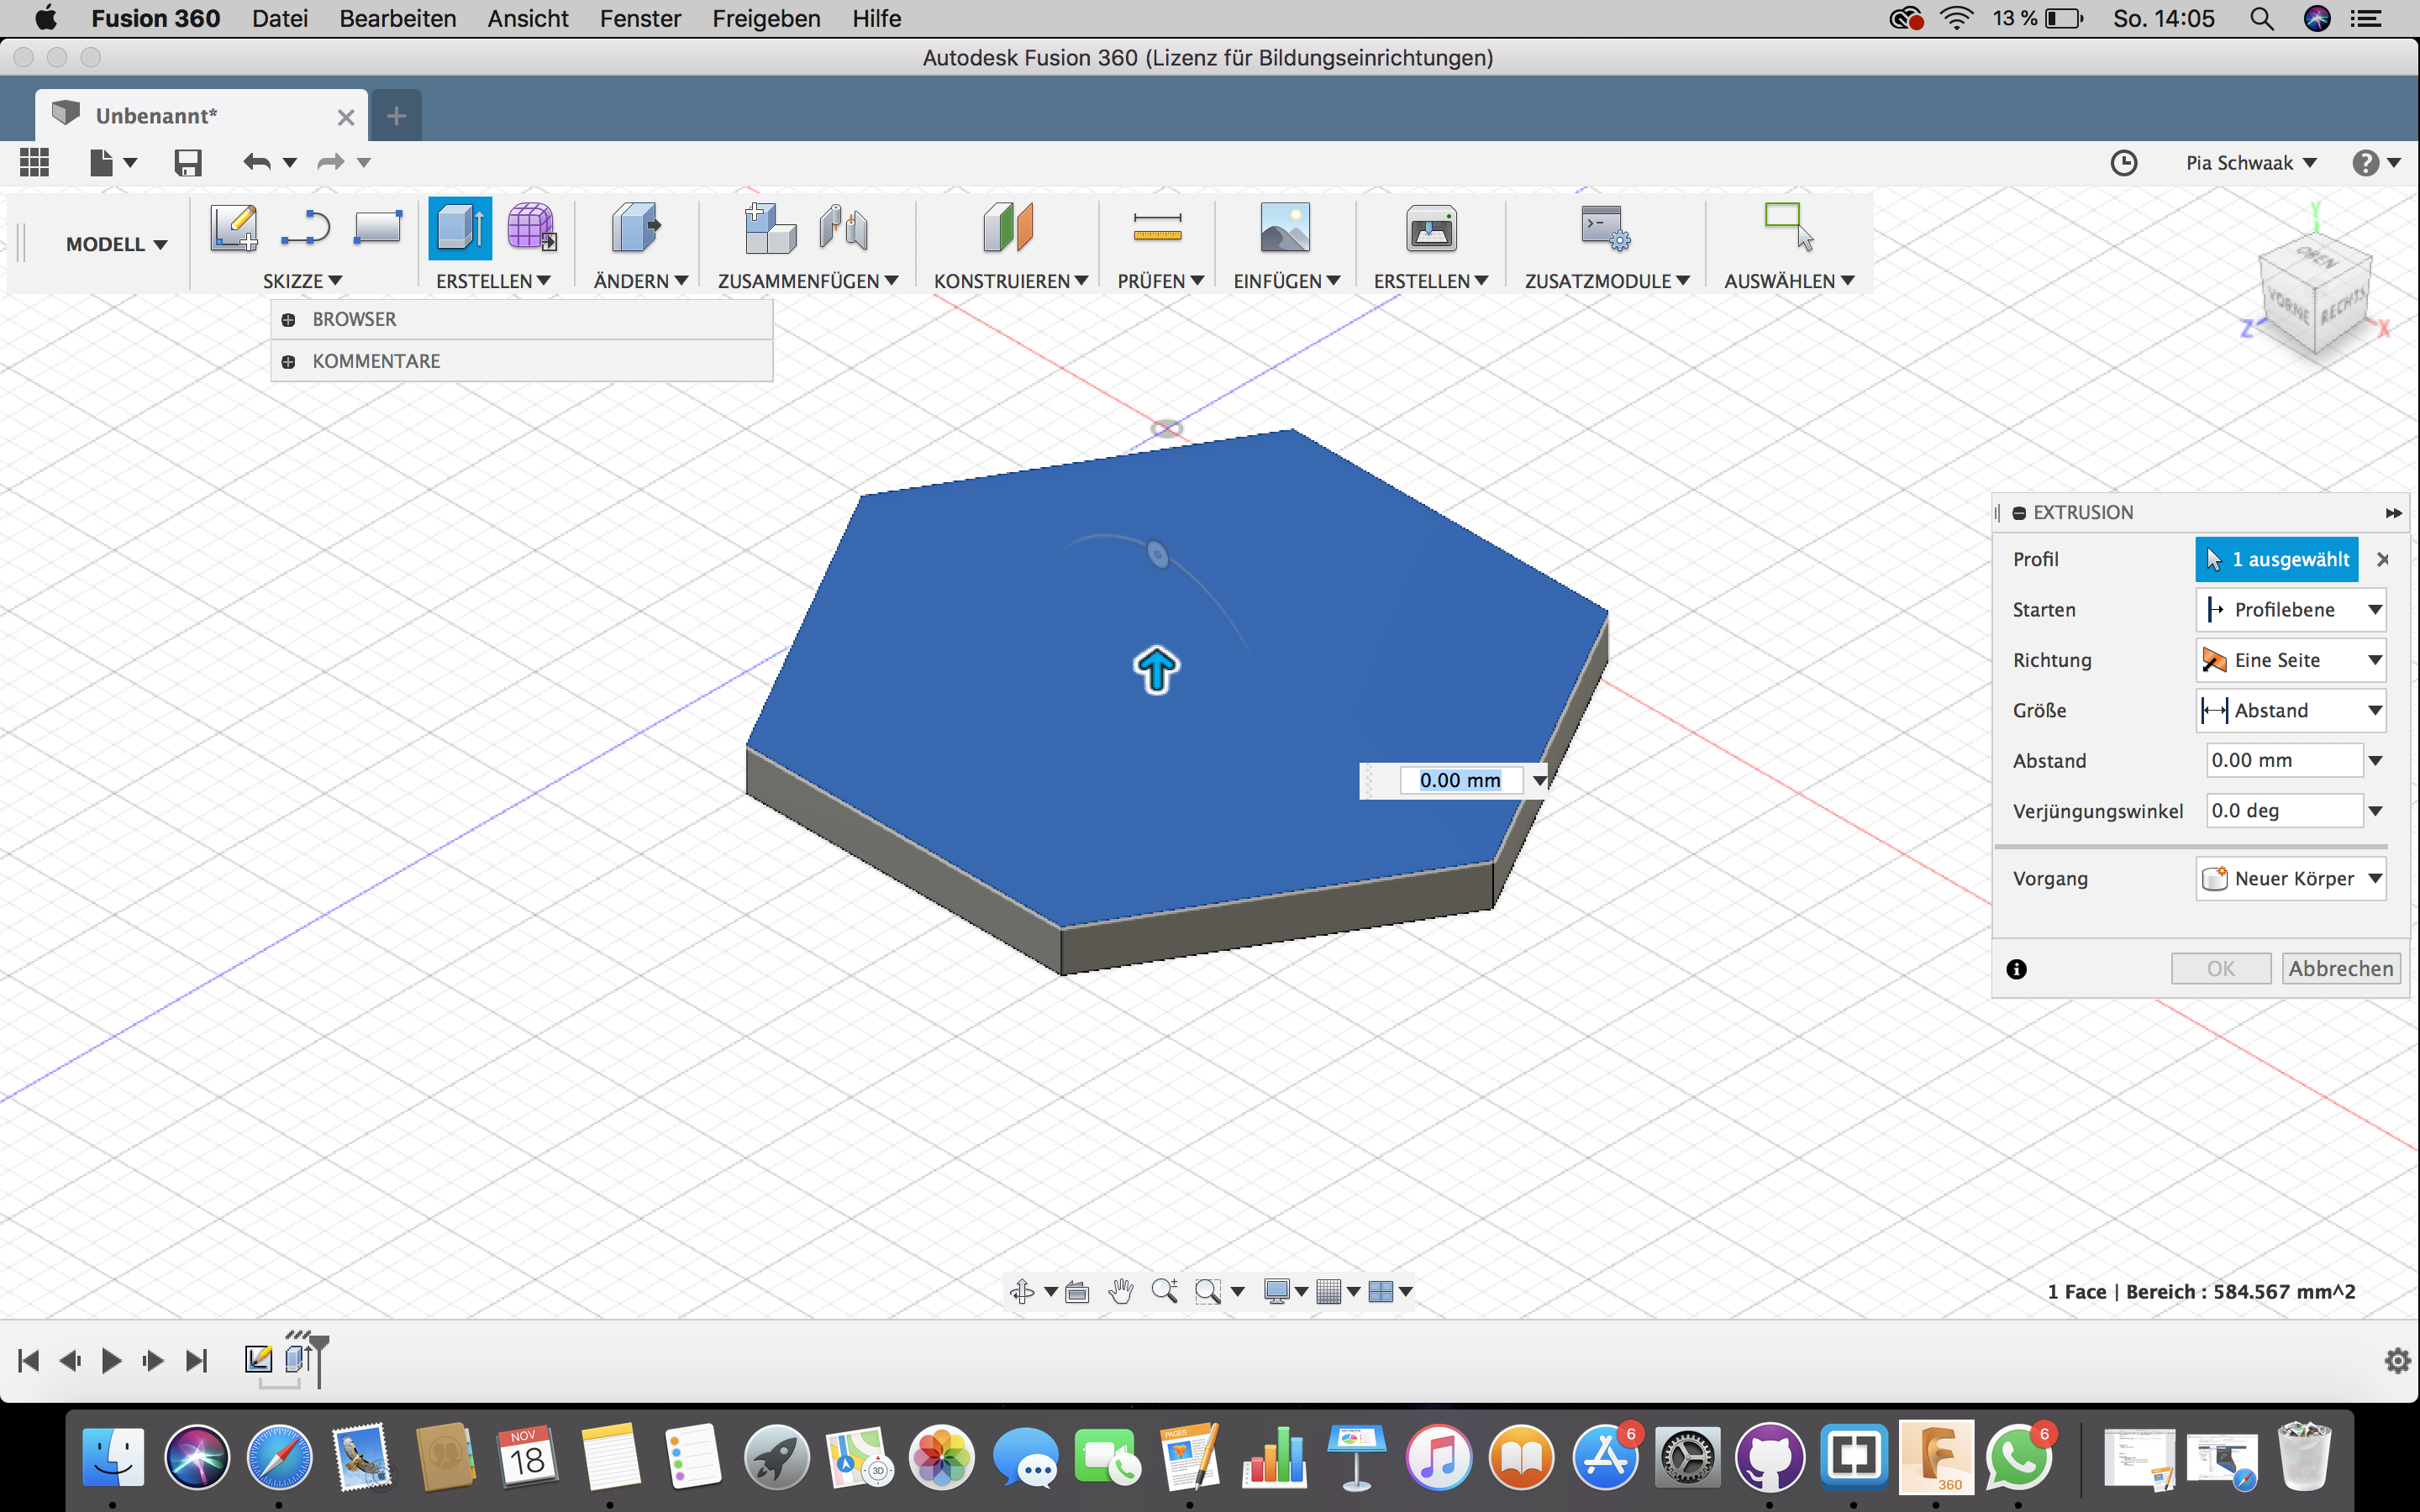
After you have done that, you have to „extrude“ your surface and make it a body.
Step 4
In the next step you have to create the sketches for your joints. I decided to place them directly in the middle of my surface.
Step 5
For the inward hinges you have to set a tolerance, so that the outward ones will fit in. The tolerance can be set up in the parameter filed.
Step 6
When you have finished everything, you will save your module as TLS.
Step 7
Now you have to open the „Cura“ program, which you can download here.
You will need this program to edit the last settings and send your modules to the 3D printer. Do not forget to check, that you have the same edition of Cura as the 3D printer you are working with.
Step 8
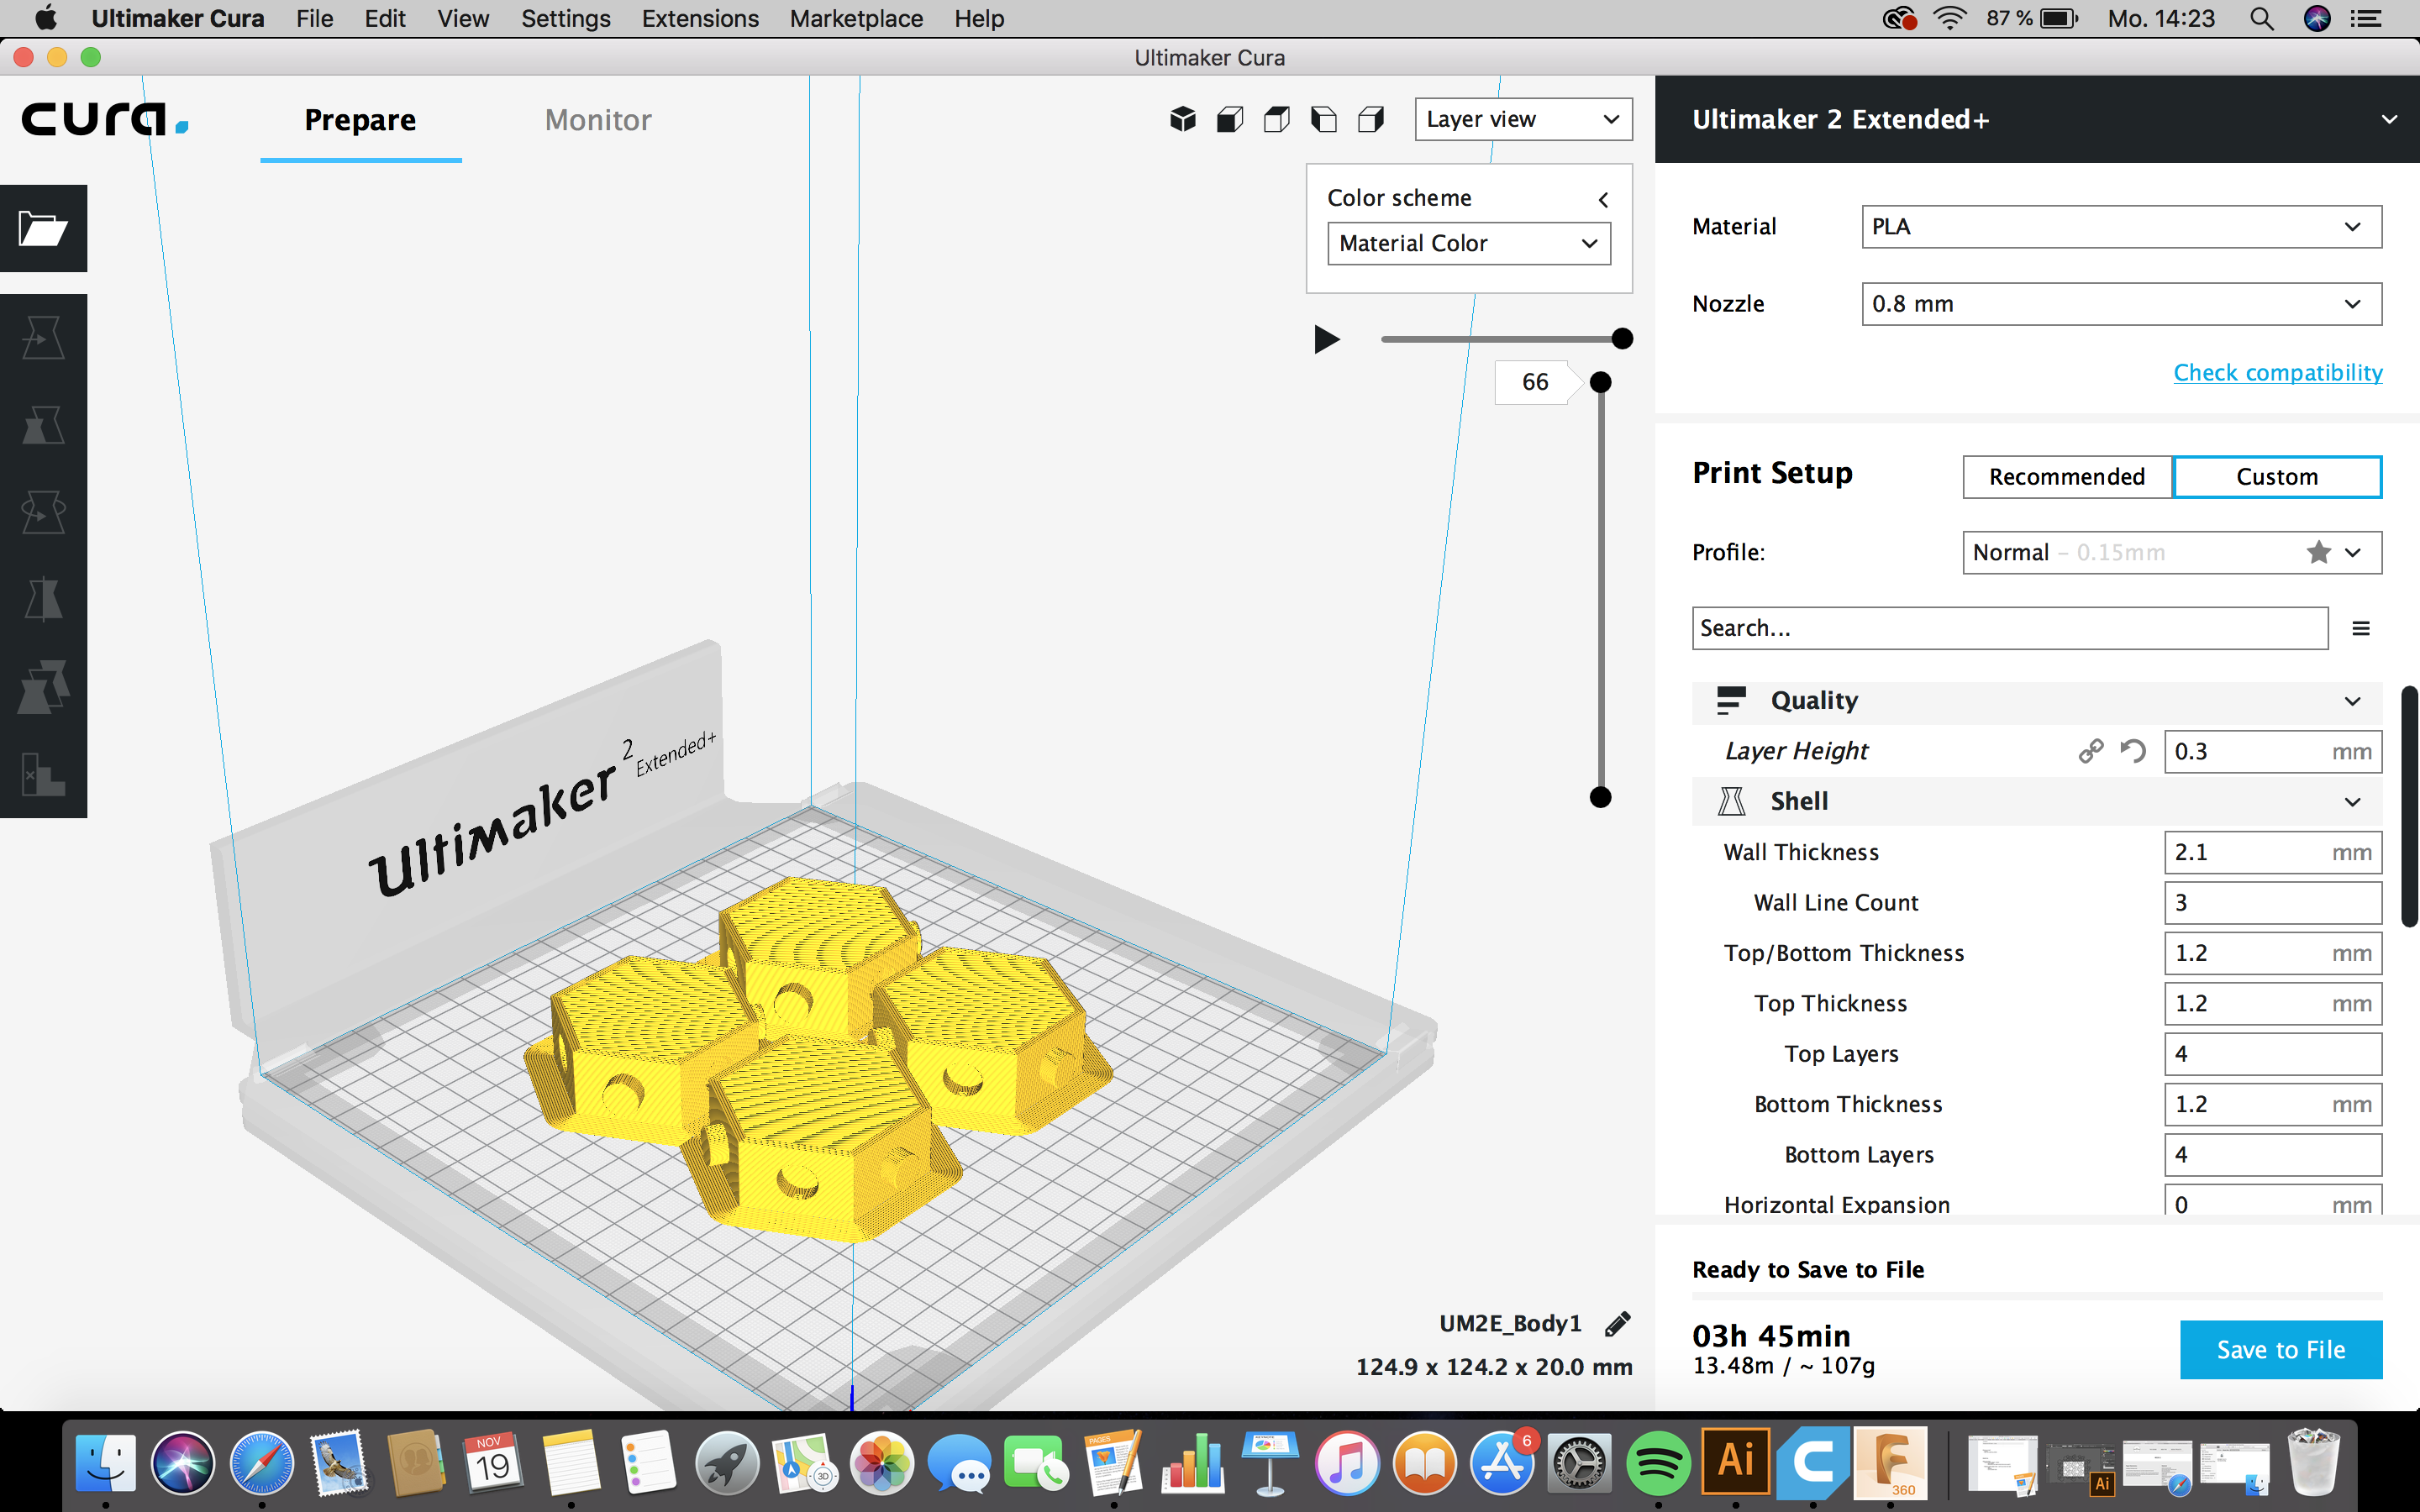
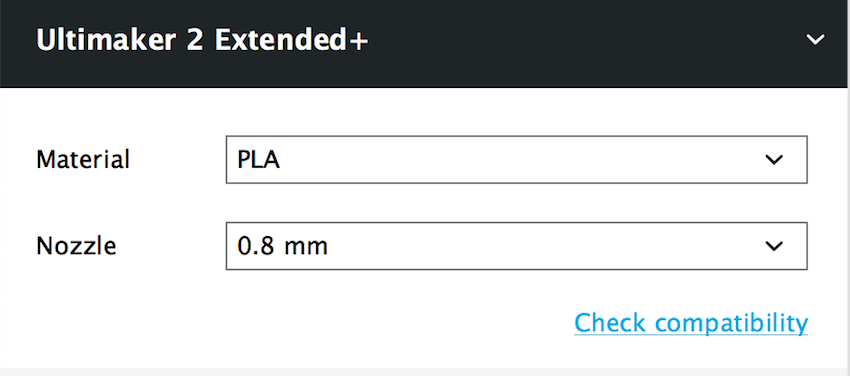
Now place your object in the open file and edit it like you want. Rotate it if necessary or move it. You also have to change the printing settings, where you first select the right size of the nozzle of your printer.
Step 9
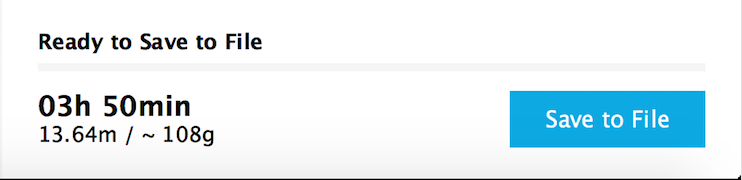
At the right bottom corner you will see, how long your printing will last. By changing any settings, the amount of time will change to.
Step 10
Now set up your 3D printer, and print your modules.
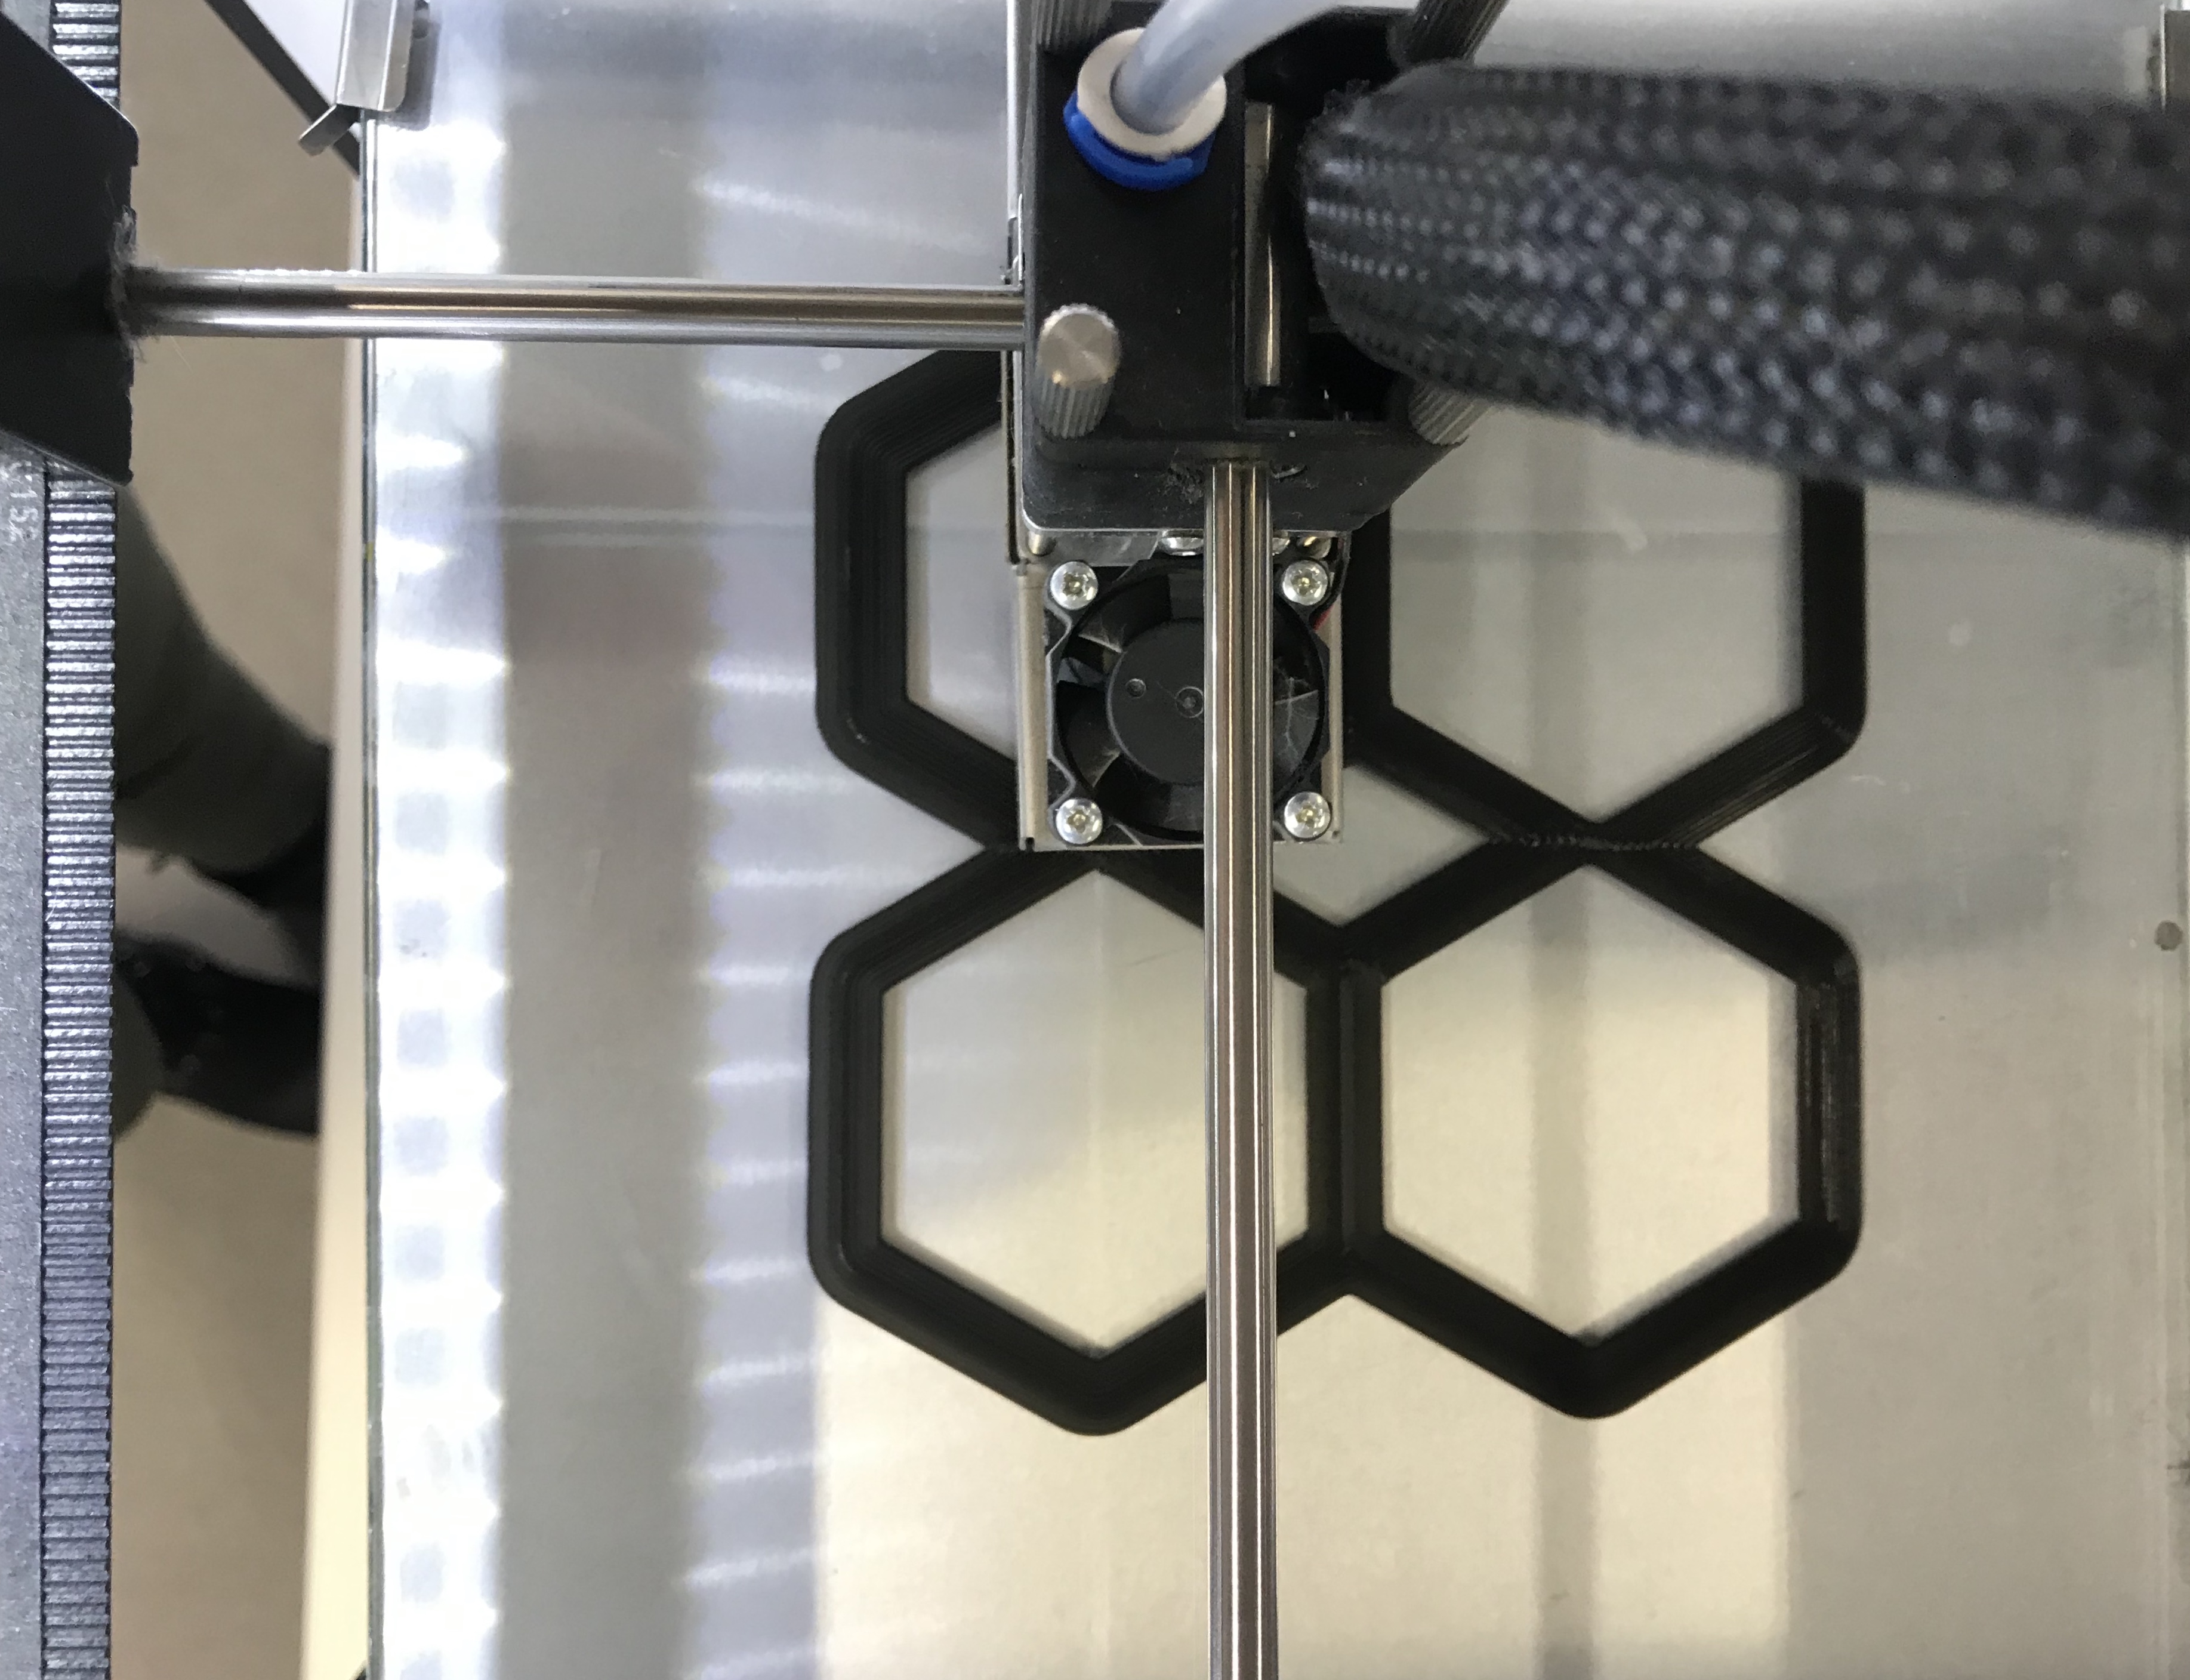
Step 11
In printed way, my modules look like this and fit perfectly together.